Making Rum Samples
Materials, process and best practices
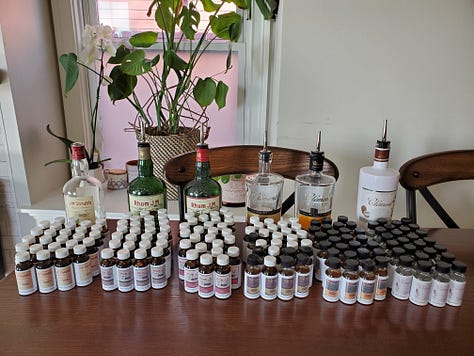
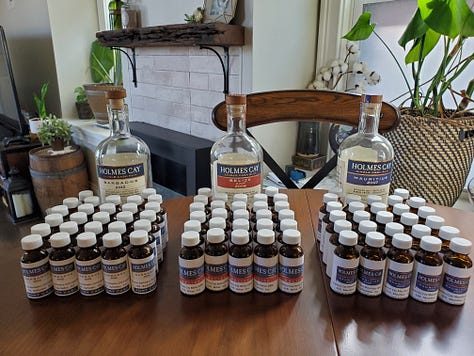
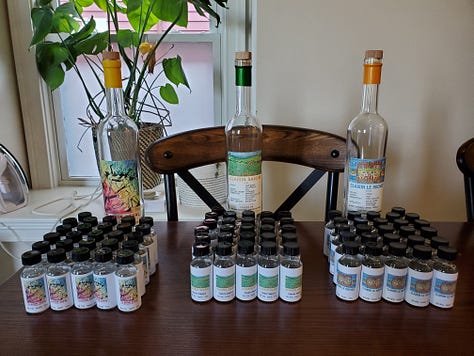
Rum samples are fantastic! They allow you to save a favorite rum, share it with friends, travel with it, and even conduct your own personal blind tastings. The possibilities are endless! In this article, I'll share my process for creating rum samples that enhance each of these experiences.
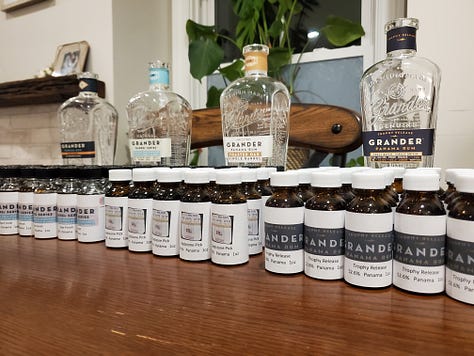
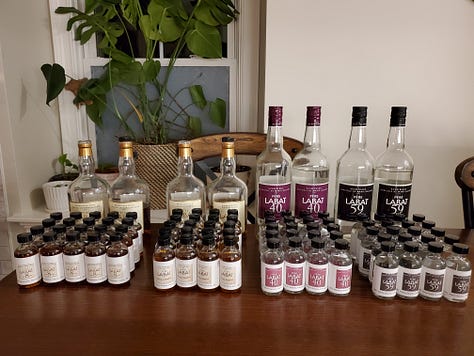
My journey in sample-making began with the Boston Rum Social Club. We needed to divide bottles for online tastings and blind tastings, and I also wanted to expand my rum knowledge by exchanging samples with others.
I value neatness and cleanliness, so here's my streamlined process:
Materials Needed
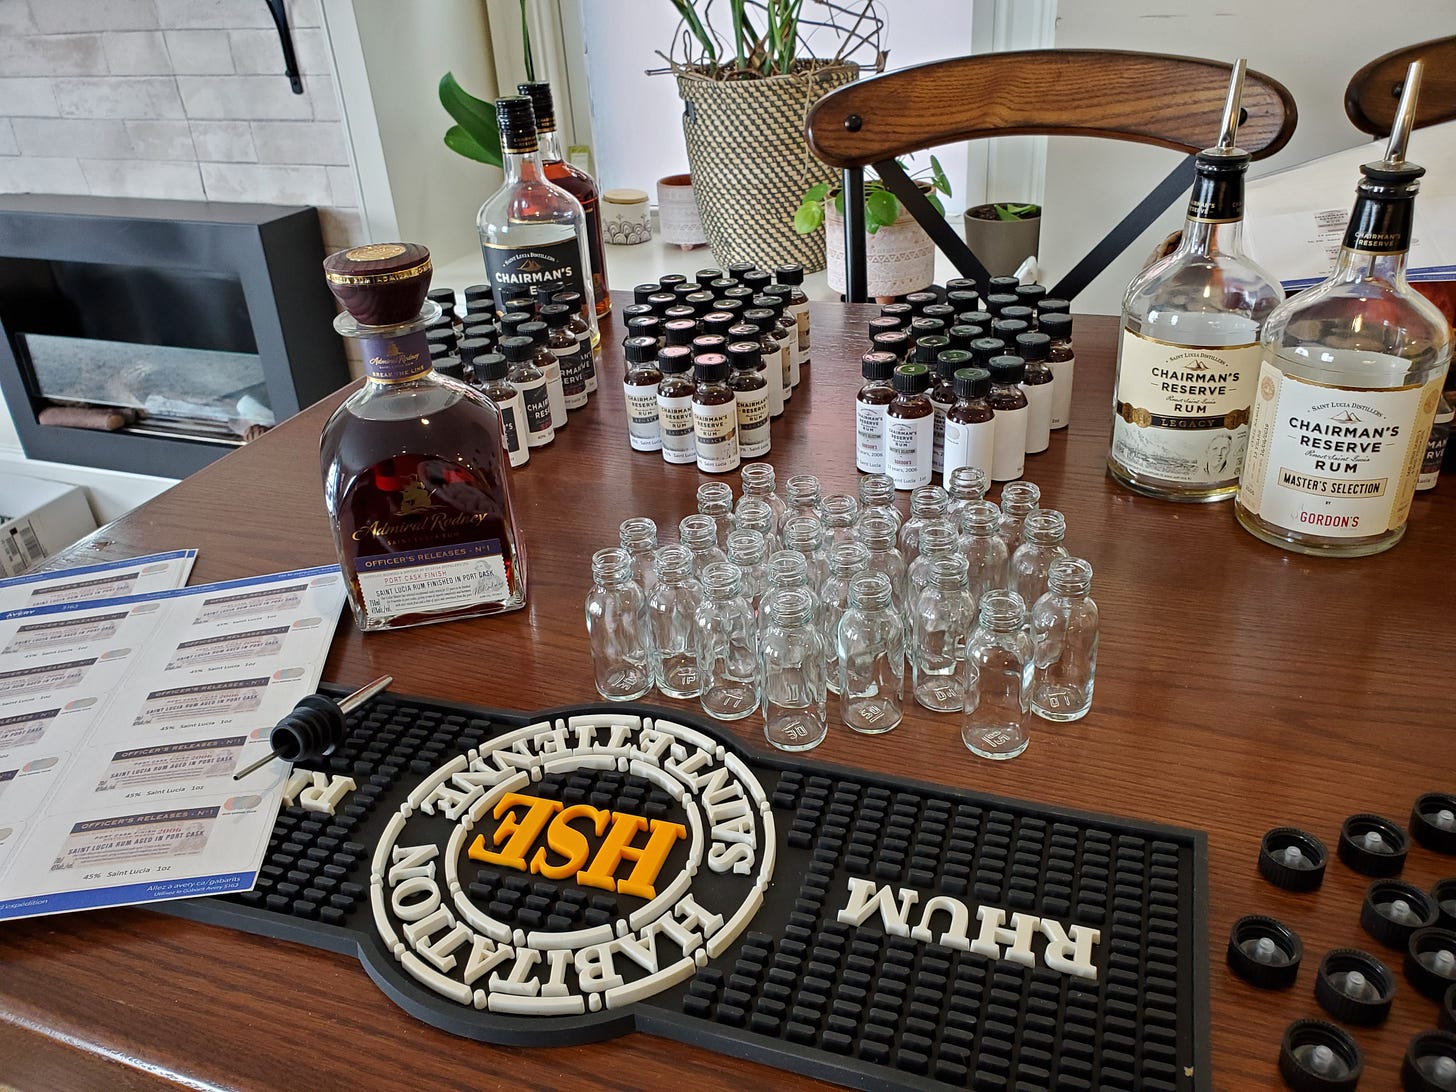
Sample Bottles: I prefer purchasing from Glass Bottle Outlet due to their variety. My go-to choice is the 1oz Boston rounds. You can find them here: Glass Bottle Outlet.
Pourer: I use a metal pourer for quick and reasonably accurate pouring. By initially using a jigger, I determine the 1oz mark in the bottle. Here’s a pourer I recommend: Amazon Pourer.
Labels and Stickers: I use Avery printed stickers and their Word template for easy home printing. You can get them here: Labels Stickers & document templates.
Process
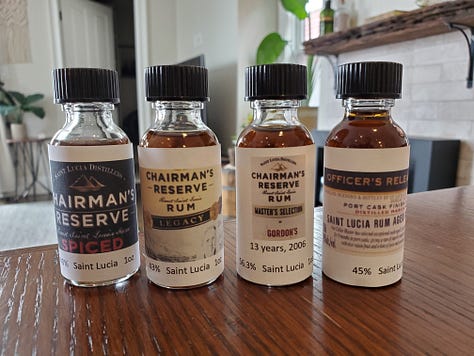
Label Preparation: I start by preparing the labels. This involves Googling images or taking photos of the rum labels, ensuring they include the quantity, ABV, and country of origin. It's important that these labels are clear and easily readable.
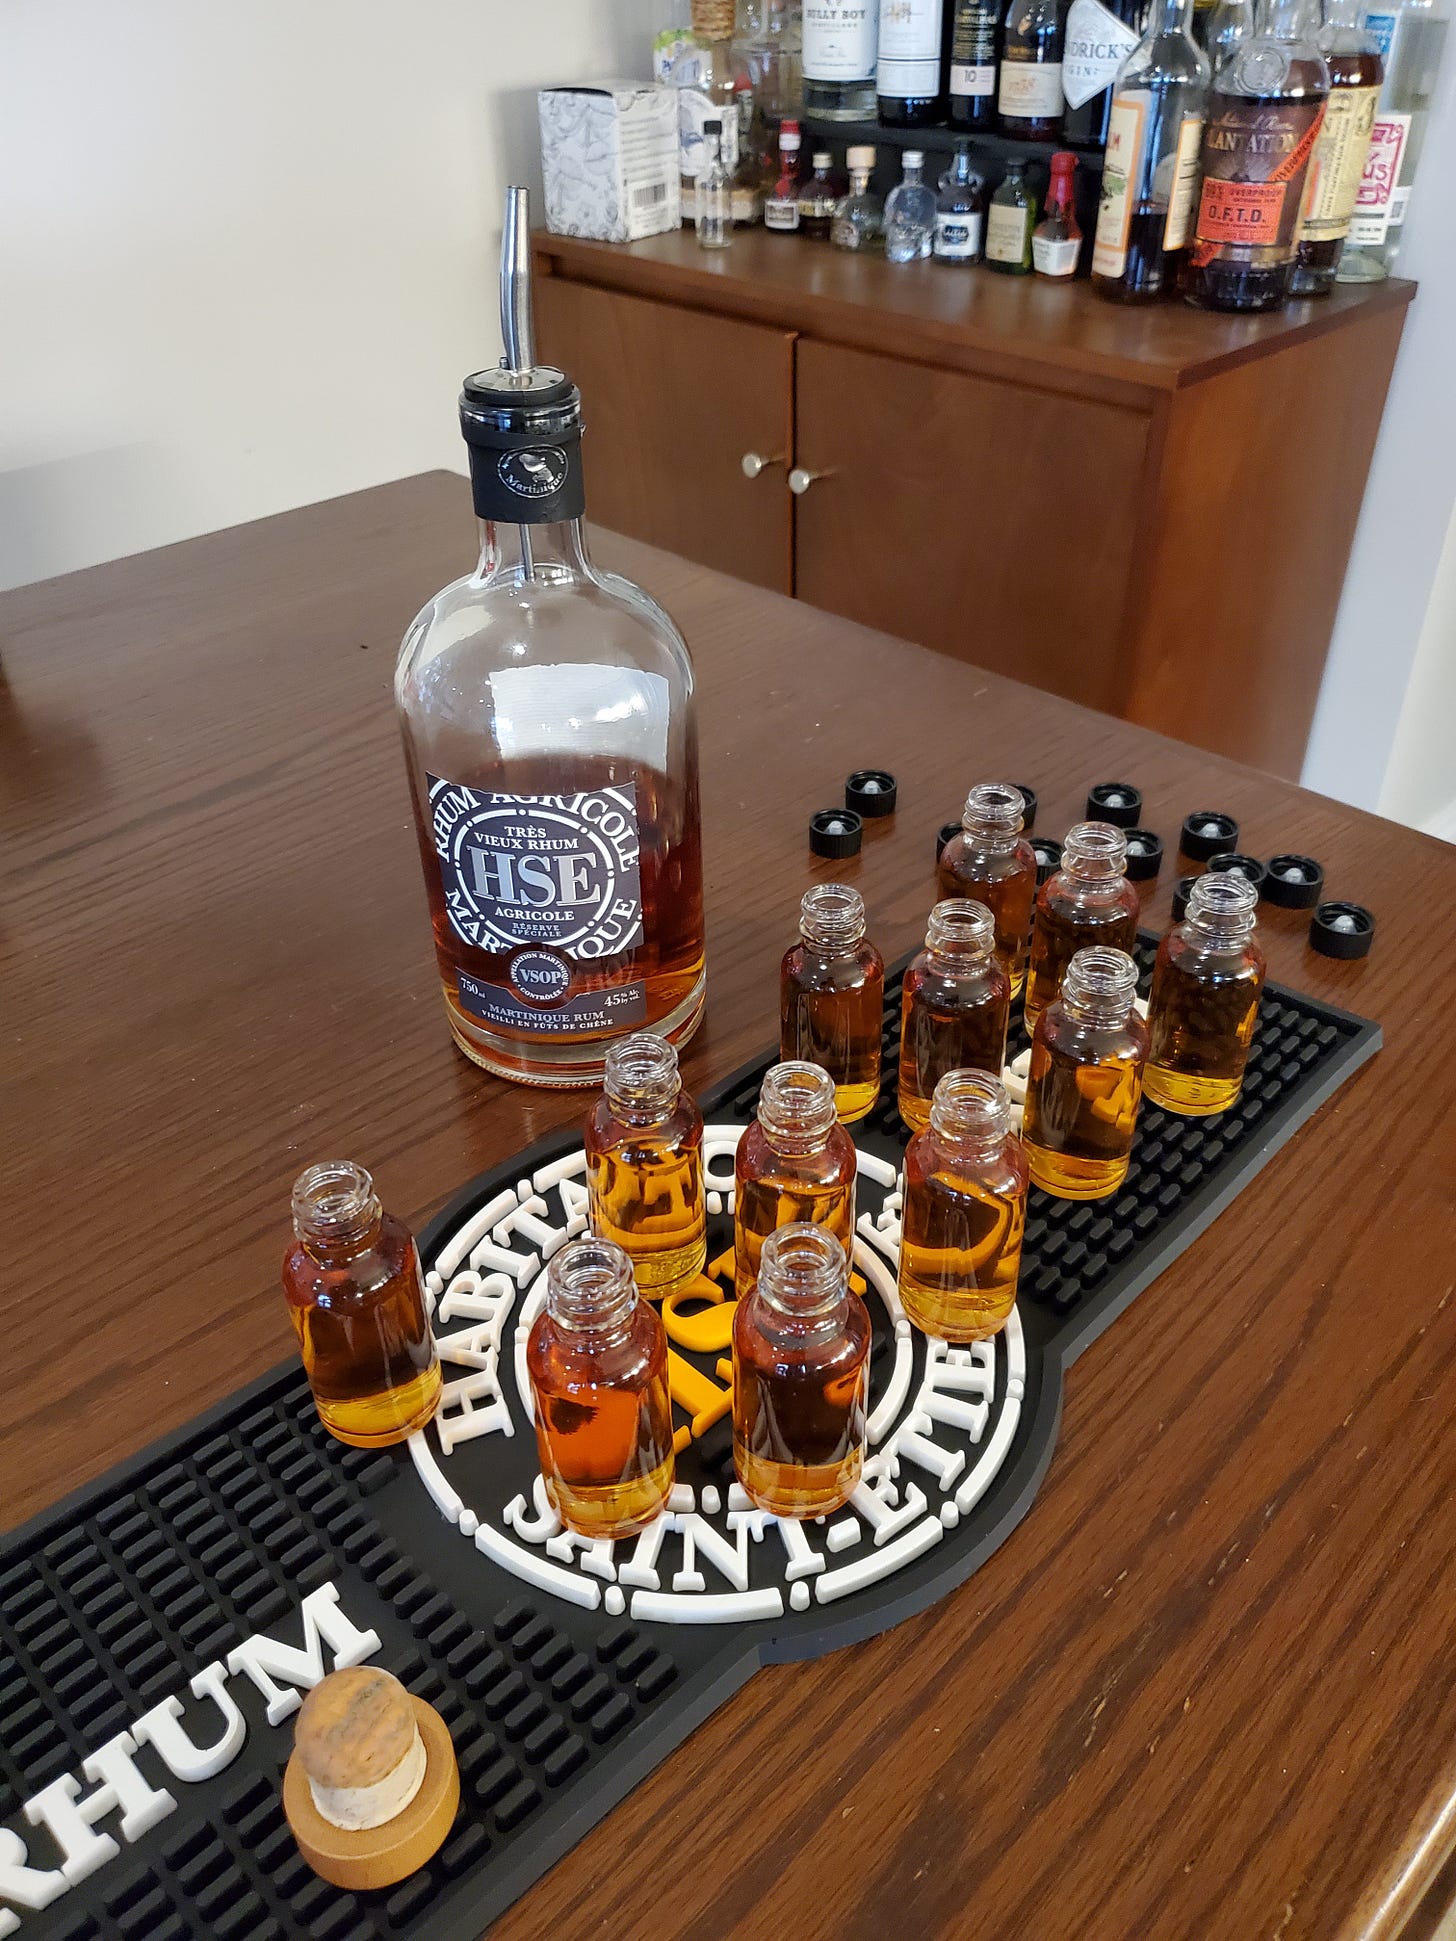
Filling the Bottles: After attaching the pourer to the rum bottle, I fill each sample bottle to the predetermined level.
Labeling: Once filled, I securely close the bottles and apply the labels.
And there you have it—your samples are ready to be shared or savored later!
Blind Tastings
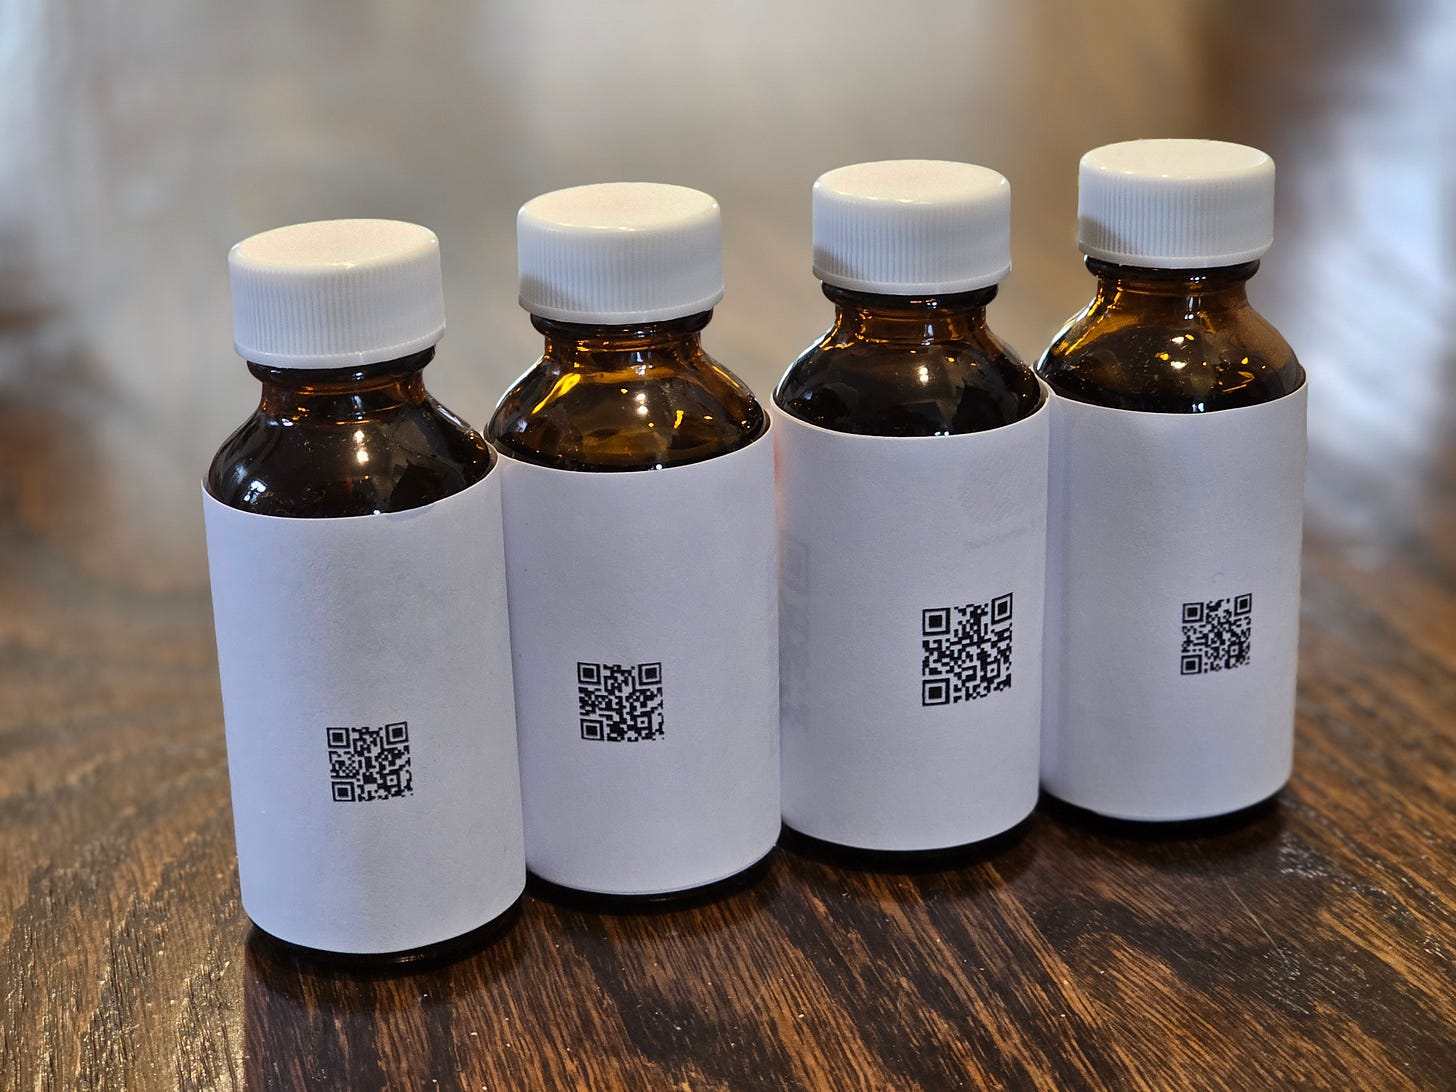
Blind tastings are an enjoyable and educational way to hone your rum-tasting skills. I've always wanted to create a rum library for personal blind tastings, and I've found a way using the RumX app. This app not only helps me catalog my rums and record tasting notes but also generates QR codes for each rum. For blind tastings, I print labels with these QR codes. The rum's identity remains a mystery until the code is scanned—ingenious!
Pro Tip: Ensure the QR code is small enough to fit on the curved surface of the bottle, facilitating easy scanning (I use 0.3" in word for the QR code width).
I hope you find these tips helpful. Feel free to share your feedback or your own methods in the comments!
